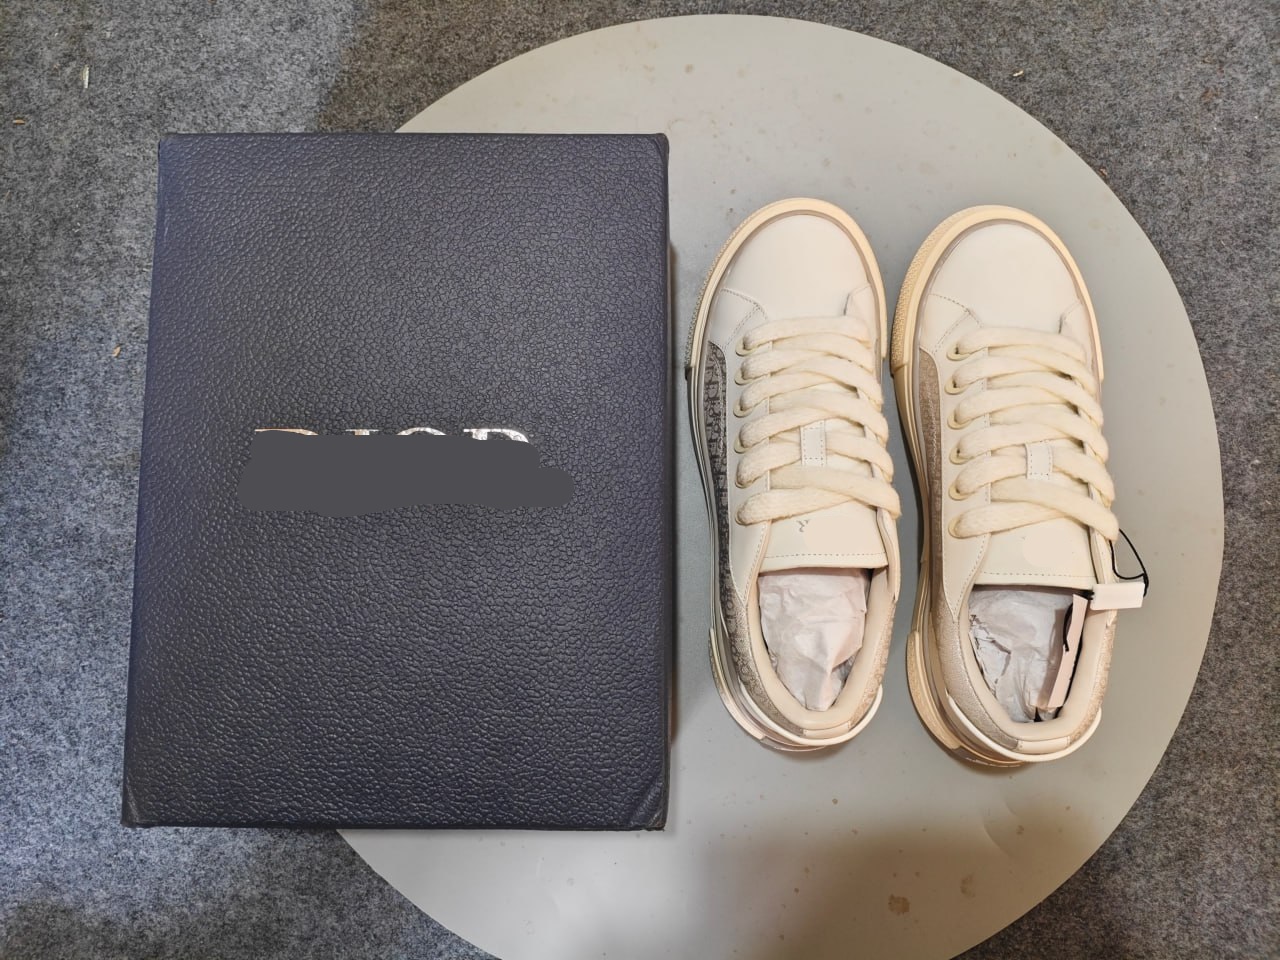
Start with the exact shoe listing
A shoe card is useful only when its image, source ID and destination still describe the same listing. Compare the thumbnail with the live page, including color blocking, sole shape, panel arrangement and visible accessories. Do not rely on a model name alone because sellers may reuse keywords across different versions. Record the source ID and selected color before looking at price. If the listing contains multiple shoes or accessories, confirm that the displayed amount belongs to the intended pair rather than laces, a deposit or another option.
Use the spreadsheet to shortlist, not to declare a winner. Open several comparable records and note what each source page actually provides: size table, material description, option photos, seller activity and return information where visible. Avoid claims such as best batch, authentic or guaranteed quality unless there is strong, current evidence. Inclusion in a LitBuy spreadsheet proves only that a route was collected or matched; it does not prove how the seller will fulfill a future order.
Convert size labels into measurements
EU, US, UK and marketplace size labels are not interchangeable without a chart for the specific listing. Start from foot length or a well-fitting insole rather than a remembered label. Compare the seller's stated measurement method and allow for sock thickness and preferred room. If the product page uses centimeters, keep the comparison in centimeters instead of repeatedly converting and rounding. A conversion table from another brand is weaker evidence than the listing's own dimensions.
When the item reaches the warehouse, request or examine a clear size-label photo and, when fit risk is material, an internal-length or insole measurement using the available service. The tape should show start and end points. A label can confirm what was attached but not whether the shoe fits as expected. Decide in advance what measurement range is acceptable. Without a tolerance, small differences in tape placement can create false certainty or unnecessary rejection.
Read shoe QC from the outside inward
Begin with the pair as a whole. Compare left and right shoe height, toe profile, heel alignment, sole shape and color. Then check panels, stitching, edges, eyelets, laces and visible branding. Review the outsole and any size or box labels. Perspective can distort symmetry, so compare multiple views and request a straight-on photograph when a difference appears only at an angle. Focus first on identity and structure before examining tiny cosmetic marks.
Classify findings. A wrong size label, wrong color or mismatched pair is a confirmed identity problem. A small glue mark or loose thread is a visible imperfection whose importance depends on location and expectation. A blurred seam or hidden interior is unresolved and needs better evidence. Photos cannot prove comfort, exact materials, authenticity or long-term sole durability. Keep the decision proportional to what is actually visible.
Decide what the shoe box is worth
Retail shoe boxes add volume and some weight. Removing one may reduce volumetric exposure, but it also removes structure, labeling and collectible packaging. The right choice depends on the shoe, the international line and the buyer's priorities. A soft casual shoe may tolerate compact packing better than a structured pair vulnerable to crushing. If the box is removed, ask what shape protection or reinforcement will replace it.
Estimate both scenarios before submitting the parcel. Use likely external dimensions for planning, then rely on final warehouse measurement and the route's current volumetric rule. Do not assume box removal guarantees a lower charge; the parcel may remain in the same billing band or need protective material that restores some volume. The decision should balance saved freight against damage risk and the value of the packaging.
Combine shoes without creating a bulky parcel
Multiple pairs can share outer packaging, but consolidation does not always reduce chargeable weight in a straight line. Boxes may stack inefficiently, and adding clothing around them can enlarge one dimension enough to increase volumetric weight. Compare a consolidated scenario with two smaller parcels using the same destination and current route rules. Consider route size limits, restricted-goods combinations and the value concentrated in one shipment.
Keep pair identity clear during packing. Save order IDs, sizes and colors, especially when similar shoes are combined. If moisture protection, corner reinforcement or separate wrapping is requested, record it. Check that the final parcel composition matches the instruction before paying. A packing request is useful only when its result can be reviewed against the planned contents and risk.
A complete shoe-find checklist
Before ordering, verify source ID, destination, color, selected size, size method, option price and domestic freight. At the warehouse, confirm pair, labels, visible shape, symmetry, sole and any measurement that affects fit. Before shipping, decide on the box, estimate actual and volumetric weight, verify the route accepts the goods and choose proportionate protection. Save screenshots or records of the selected option and QC evidence without treating them as permanent stock or authenticity proof.
The most useful LitBuy spreadsheet shoe page connects discovery to these decisions. It does not need unsupported rankings or hundreds of anonymous links. A smaller set of clearly matched routes, paired with sizing and QC instructions, can produce better outcomes because the reader knows what to verify. The spreadsheet finds the candidate; the live listing defines the option; warehouse evidence supports acceptance; and the final package determines shipping cost.
Keep a comparison sheet for the final shoe candidates with columns for source ID, color, size system, stated internal measurement, option price, domestic freight, box dimensions if known and the QC questions that will matter. Do not score unknown fields as zero or acceptable. Mark them unresolved. A candidate with a slightly higher product price but a clear size chart and stable source route may represent less decision risk than a cheaper page with ambiguous variants.
After receiving a pair, compare the real evidence with the assumptions recorded earlier. Update the measured size, actual box condition, packed weight and final shipping contribution. These values will not guarantee the next seller or line, but they create a realistic reference for similar footwear. If the outcome differs, identify whether the cause was listing interpretation, size conversion, seller fulfillment, QC limits or parcel design. That diagnosis is more useful than labeling the entire spreadsheet good or bad.
For returns or exchanges, act while the item remains at the warehouse and verify the current seller and platform conditions. Do not assume a size problem will qualify automatically, especially when the selected label matches the order but the fit expectation was based on an unrelated chart. Present the listing measurement, selected option, warehouse measurement and exact difference. A structured comparison gives the after-sales request a factual basis and helps distinguish seller error from a sizing assumption made before purchase.
When no additional evidence can resolve fit, make the uncertainty explicit before shipping. A correct label and plausible measurement can still feel different because of width, upper construction, foot shape or intended use. Do not let sunk product cost turn an uncertain pair into an automatic international shipment. Compare the cost and conditions of the available warehouse action with the risk of receiving footwear that cannot be used.